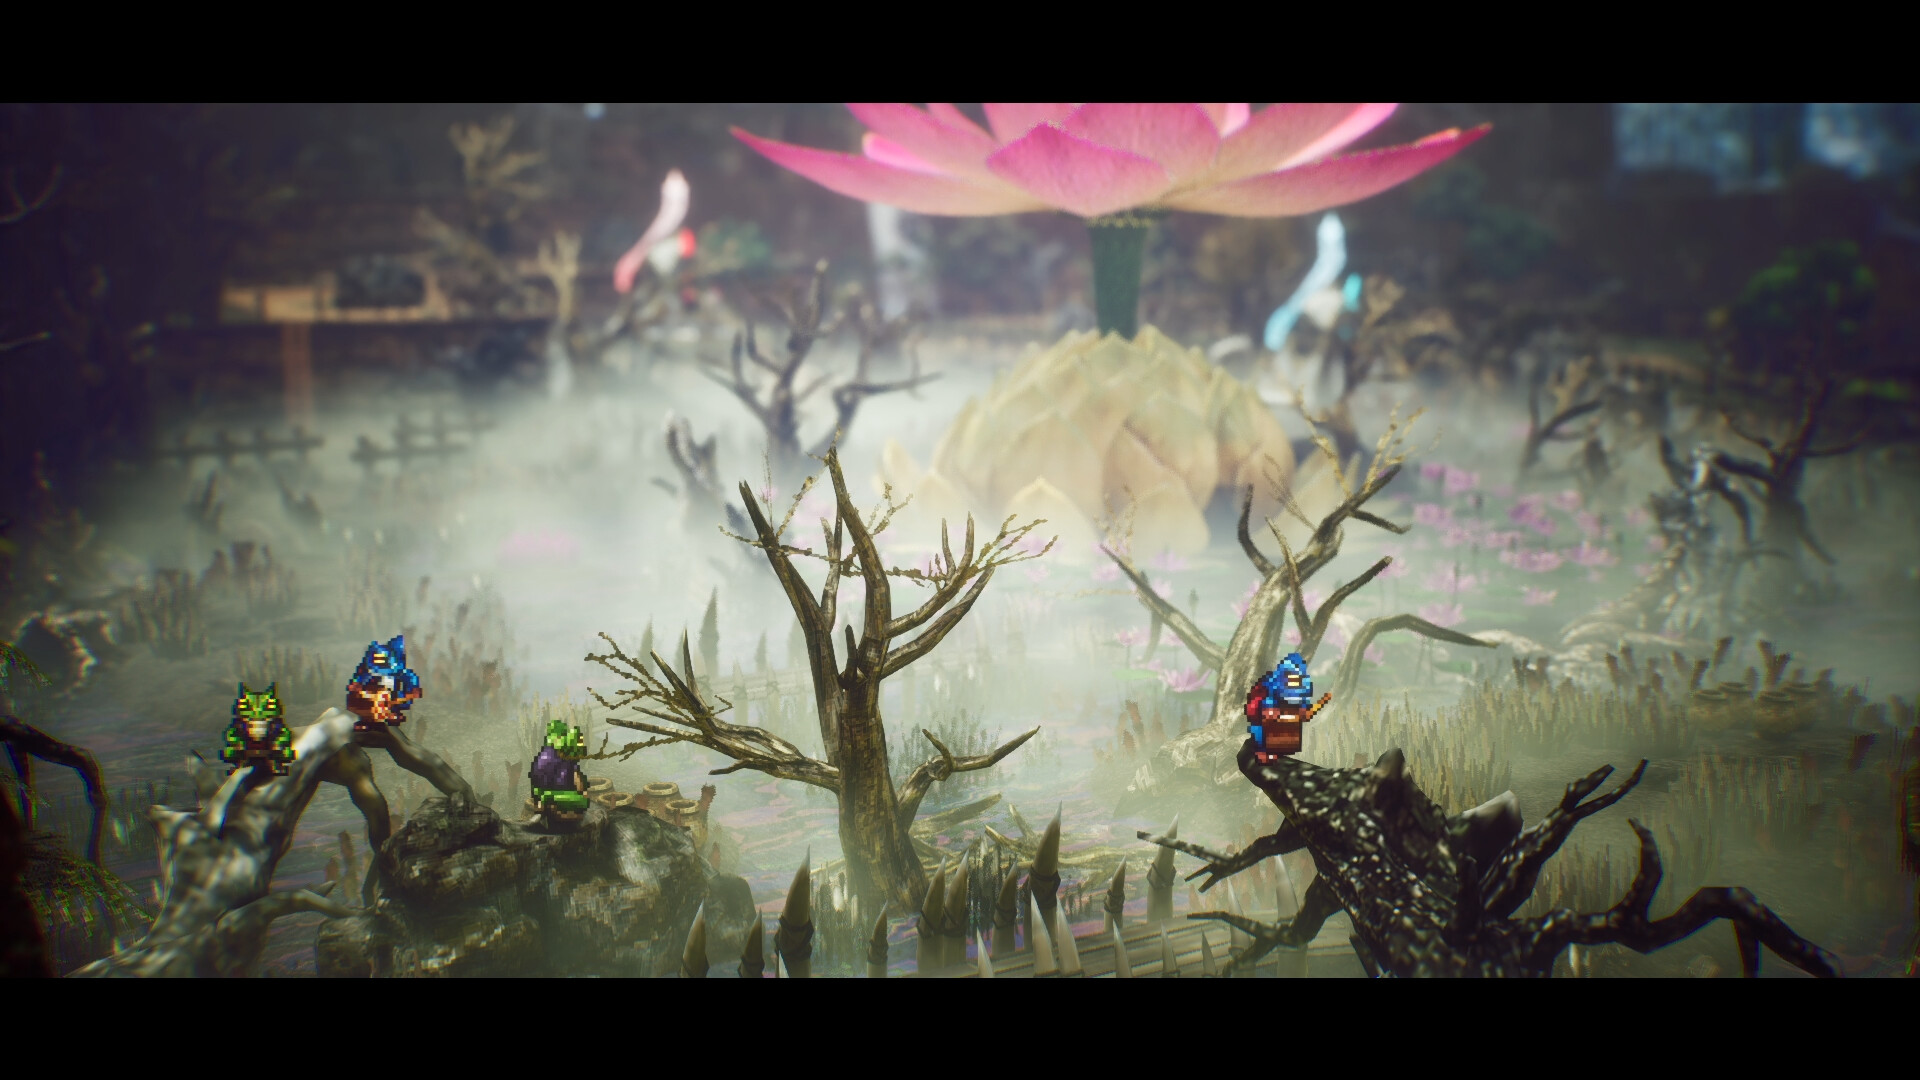
Part 4 picks up in Little Hope during the Age of Reconstruction, where Elliot questions the villagers, completes the “Blow Your Troubles Away” quest to earn bombs, then blasts through boulders and caves on the way north toward the tower and the power of light that Kaifrid is chasing.
This part of The Adventures of Elliot: The Millennium Tales is a calm town sweep that turns into a long northward push. You arrive at Little Hope, recognize it as the same map you saw earlier in the Age of Safekeeping, and slowly piece together that you’ve stepped several hundred years into the past. The whole episode is built around one goal — get north to the tower — and the bomb quest is the gate you have to open to do it.
- Where Part 4 picks up in Little Hope
- Exploring Little Hope: townsfolk, shop, and manuscripts
- How to get bombs and clear the boulders north of Little Hope
- North through the caves, waterfalls, and the Hall of Discipline
- Every pickup in this stretch: Shards of Life, magicite, and tul
- The lore: the fall of magic and what Kaifrid wants
- Frequently Asked Questions
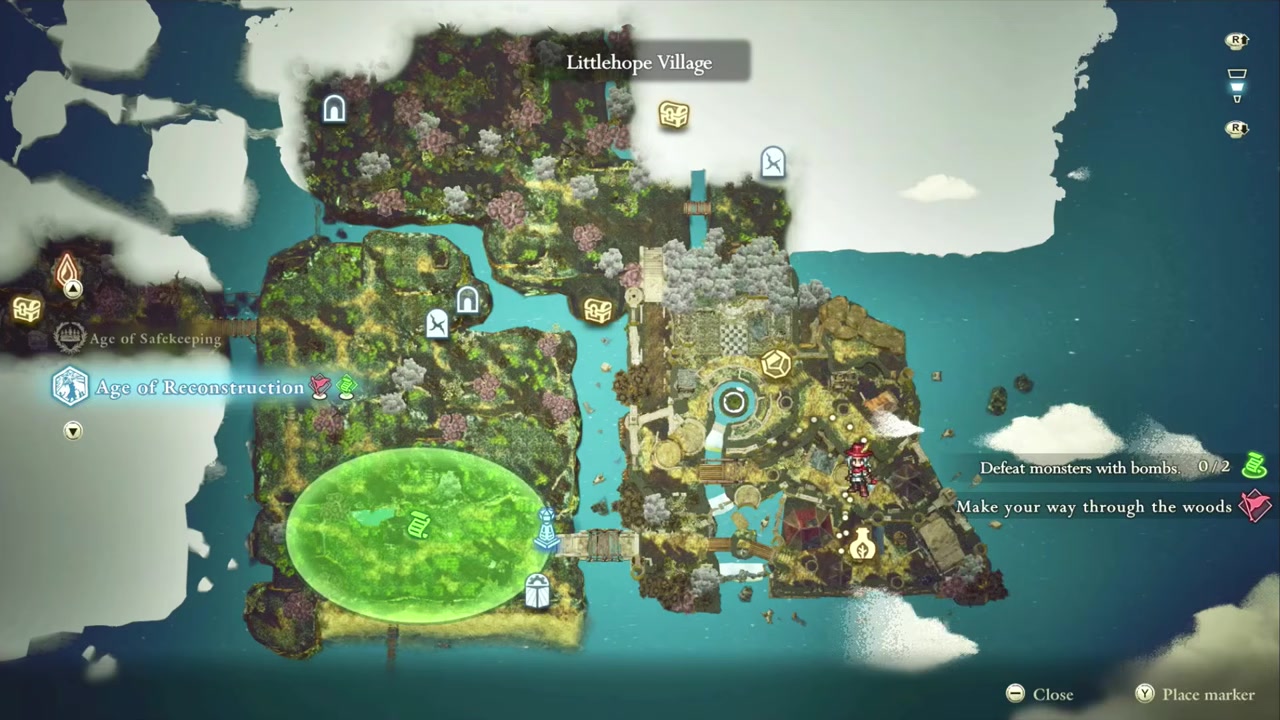
Where Part 4 picks up in Little Hope
Little Hope is the same place that becomes the kingdom of Huther in Elliot’s own era, just centuries earlier and far poorer. The villagers call this the Age of Reconstruction, the period when Elliot’s ancestor — the hero king — rebuilt a devastated world and founded Huther. That timeline detail matters, because Elliot is chasing Kaifrid, and if Kaifrid rewrites history from this point, the kingdom that comes later could simply cease to exist.
Exploring Little Hope: townsfolk, shop, and manuscripts
| Shop item | Cost | Effect |
|---|---|---|
| Arrows | 2 tul each | Ammunition for the bow |
| Bombs | 10 tul each | Attack 50; destroys cracked walls and boulders (stocked only after the quest) |
| Heart potion | Not shown | Restores 3 hearts, +20% attack, +100% defense |
| Stronger potion | Not shown | Restores 6 hearts |
| Defender accessory | Not shown | “An important companion for your adventures” |
Before you leave through the northern exit, sweep the whole village — it’s small but generous, and several pickups are tucked behind breakable pots and easy-to-miss ladders. The townsfolk are uniformly gloomy, resentful that the old Age of Magic collapsed and left them defenseless against the beast tribes. The tavern is your rumor mill: it’s where you first hear that the power of light sits in the ruins up north, that a well-dressed stranger recently hired a pack of young people and led them off, and that the northern snowfield — Whiterea — is dangerous Olfer territory.
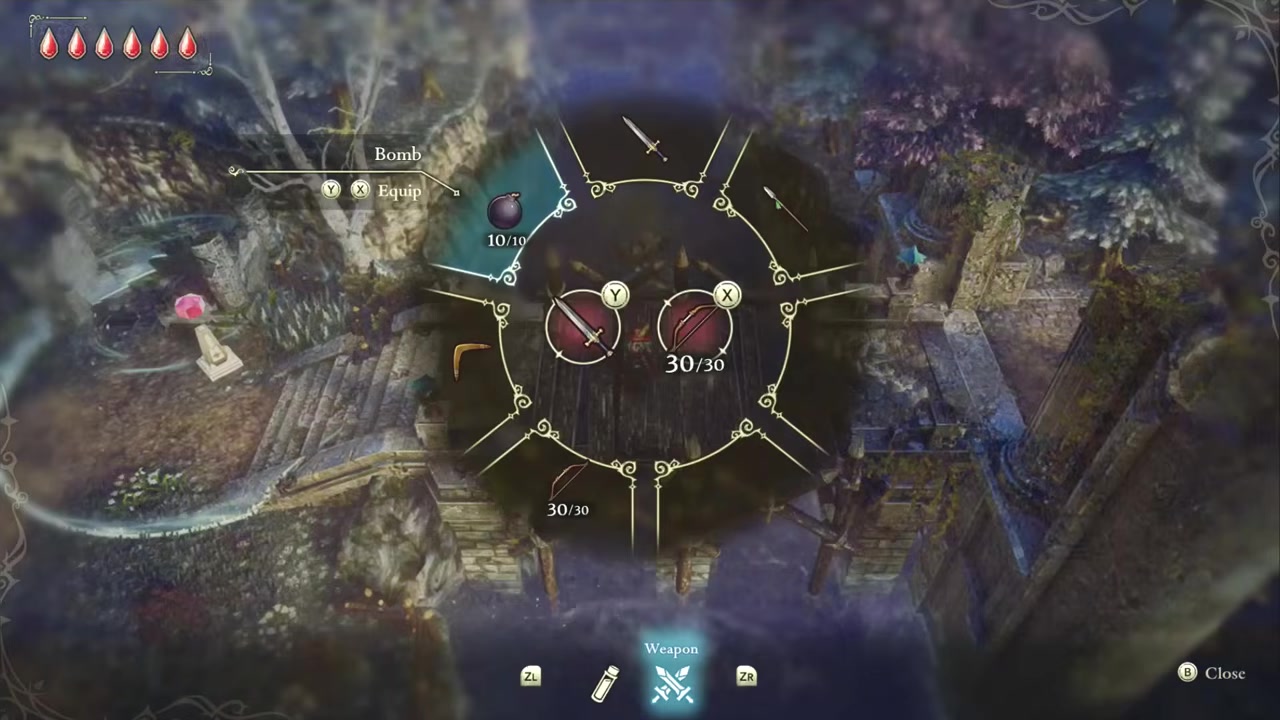
The house of healing and the scattered manuscripts are pure lore, but they’re worth reading: a healer’s medical record describes a sickness caused by exposure to magical energy, while research notes on magic artifacts, the “magic needle,” and the moon-mirror barrier flesh out how this civilization actually worked before it fell. Two researchers, Deonna and her companion, give you the full history lecture and confirm the timeline. Grab the chest holding the High Spirits magicite while you’re here, equip any spare magicite (remember you can only fit two weapons at a time, and surplus magicite auto-disassembles into fragments), and don’t skip the Fire Shot magicite for your bow.
The shop itself is the important stop, since it’s the only place that will eventually sell you bombs. Here’s what’s actually priced on screen — the potions and the defender accessory don’t show a cost when you buy them, so those are left honest:
One quick note on money: the currency is written as both “T” and “tul” depending on where you look, but it’s all the same stuff — this guide uses tul throughout.
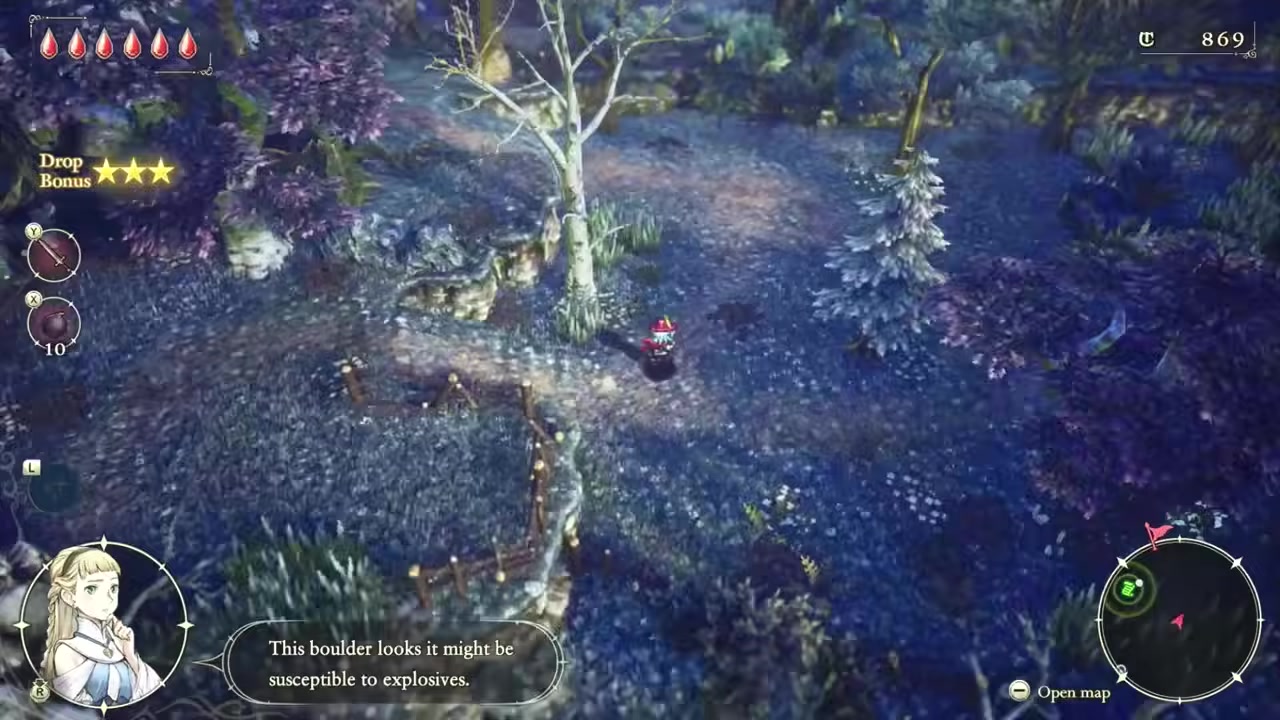
Bomb anything that looks breakable. Cracked walls and boulders all over Whiterea hide secret shortcuts, chests, and Shards of Life — once you have bombs, set one wherever the geometry looks suspicious.
How to get bombs and clear the boulders north of Little Hope
STEP 1/9
Talk to the stranded traveler
Just north of town a rockslide has buried the road, and he can’t shift the boulders on his own.
STEP 2/9
Pick up “Blow Your Troubles Away”
The quest sends you back to Little Hope’s shop, the only place around that carries bombs.

STEP 3/9
Ask the shopkeeper for bombs
He has them, but he wants you to test them on the beast tribes before he’ll spare any for the boulders.
STEP 4/9
Learn how bombs work
Bombs have an attack of 50 and break certain walls and boulders; hold X or Y a little longer to pick one up and throw it instead of setting it.
STEP 5/9
Head west to the beast-tribe enemy
The new quest marker points west to a slow target you can safely practice on.
STEP 6/9
Set a bomb to defeat it
Assign bombs to X so Y stays free for normal attacks; the blast has good range and lands solid damage.
STEP 7/9
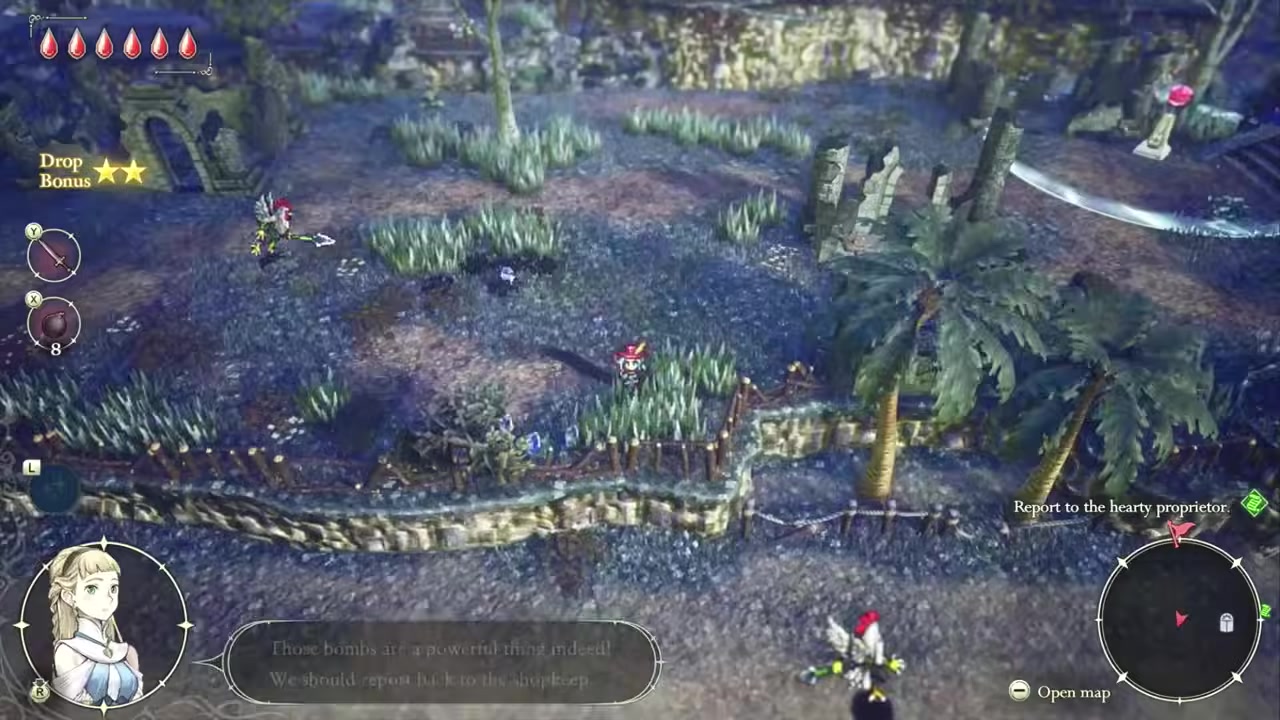
Report the result to the shopkeeper
He’s sold — bombs clearly work on the brutes, so he’ll start stocking them as a product.
STEP 8/9
Collect your free bombs for the boulders
He hands over more for the rockslide; this is the last batch you get free, after which they cost 10 tul each.

STEP 9/9
Blow up the boulders blocking the road
The path north finally opens, and the traveler’s parting advice is to bomb anything that looks breakable.
Video help
North through the caves, waterfalls, and the Hall of Discipline
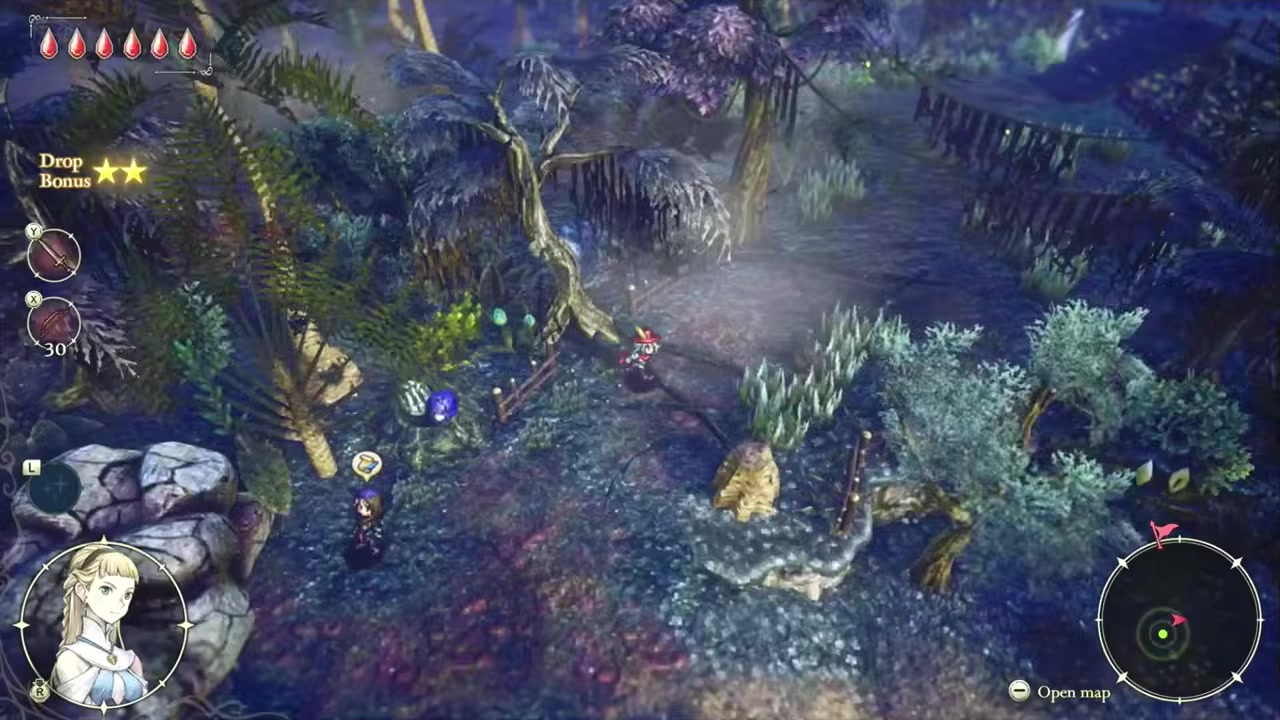
With bombs in hand, the route north turns into a steady rhythm of clearing cracked walls and boulders, then poking around whatever they reveal. The first stretch hands you the Bonus Chain accessory — it stops your bonus time from ending on the first hit you take and refreshes as your bonus level climbs, which makes it well worth one of your accessory slots. From there you’ll find chests of tul, your first Shard of Life of the area, and a couple of cracked walls that open into caves marked as secret shortcuts.
The waterfall and river sections are where it pays to slow down. You can swim, and you can even land a charge attack in the water, but you can’t use a normal attack and you cannot dive yet — so the underwater passages are firmly “come back later.” When you cross a river, jump first to launch yourself in rather than walking off the edge, or the current can drag you over the falls. Deeper in sits the Hall of Discipline, a combat room that locks you in with a wave of enemies. These ones revive from their own remains, so you have to destroy the remains version of each, and the variants come in different elemental flavors — clear them all for another Shard of Life.
The northern stretch ends at a Shrine of Life, the recurring jumping-puzzle rooms. The timing on the platforms is a little fussy and you’ll want to jump earlier than feels natural, but it’s short, and the reward at the end is the Shard of Life that pushes Elliot’s health up. By this point he’s sitting at seven hearts, up from the five he started the game with. After that the only fresh ground is the south side, which holds two more caves — including one sprawling, optional-feeling dungeon with pits and traps — that you can explore now or warp away from and return to later.
Every pickup in this stretch: Shards of Life, magicite, and tul
| Item / pickup | Where you find it | Effect or value |
|---|---|---|
| High Spirits (magicite) | Chest in Little Hope | +20% critical hit rate while health is 90% or higher |
| Fire Shot (magicite) | Little Hope | 20% chance to burn enemies hit with bow attacks |
| Bonus Chain (accessory) | Just past the first boulders north | Stops bonus time ending on the first hit you take; refreshes as bonus level rises |
| Shards of Life (several) | North caves chest, Hall of Discipline, lake area, Shrine of Life | Permanently raise max HP — Elliot reaches 7 hearts here |
| Magicite fragments (20 each) | Cave chests on the route | Used to level and upgrade weapons (two equipped at a time) |
| Total Guard (magicite) | Northern route chest | Auto-disassembled into fragments if already owned |
| Bomb | Breakable wall near the Hall of Discipline | Throwable explosive (attack 50) |
| Tul | Chests across the route (105, 170, 190) | In-game currency |
The lore: the fall of magic and what Kaifrid wants

The history lecture in Little Hope lays out four ages. First came the Age of Myth, when divine creatures lived; then the Age of Budding, when humans first learned magic and started building; then the Age of Magic, when that civilization peaked — right here, on this very ground. Then it collapsed, abruptly, and nobody agrees why: a beast-tribe invasion, an experiment gone wrong, or the magic simply running dry are all floated as theories.
The thread that ties it to your quest is a piece of in-game lore — not an established fact, just a story the villagers pass down — that a power of light once “slayed a witch and saved the world,” and that it still rests in the northern ruins. That’s what Kaifrid is after. If he can seize it and rewrite history from the Age of Reconstruction, the kingdom of Huther that grows out of this era might never come to be, which is exactly why Elliot is in such a hurry to reach the tower first.
Frequently Asked Questions
Is this Grow a Garden 2 or a Roblox game?
No. Despite the search-engine mix-ups, The Adventures of Elliot: The Millennium Tales has nothing to do with Roblox, Sheckles, Robux, or crop farming. It’s an HD-2D action RPG from Square Enix and Team Asano — a Zelda-style game of temple exploration, treasure hunting, and combat across four ages. If a “Part 4” walkthrough is talking about gardens and gacha crops, it’s describing a completely different game.
How do you get bombs in The Adventures of Elliot?
Bombs come from the “Blow Your Troubles Away” quest. Talk to the traveler stuck behind a rockslide north of Little Hope, return to the village shop, agree to test a few bombs on a beast-tribe enemy to the west, then report back. You get a free batch for the boulders, and after that the shop sells them at 10 tul each. They have an attack of 50 and break cracked walls as well as boulders.
What age is Little Hope, and how does it relate to Huther?
Little Hope sits in the Age of Reconstruction, several hundred years before Elliot’s own time. The village existed before the kingdom of Huther was ever founded — Huther was built later, during this same age, when Elliot’s ancestor the hero king rebuilt a devastated world. So you’re walking through the distant past of your own homeland.
Why can’t I cross the water or dive yet?
You can swim and even land a charge attack in the water, but you can’t perform a normal attack while swimming and you can’t dive underwater — that’s a later ability. Any passage that needs diving, like the gated exits around the big lake, is meant to be revisited once you unlock it. Don’t waste time hunting for a way through now.
How many Shards of Life are there, and how many should I have by now?
The game tracks Shards of Life toward a total of 60. This stretch hands you several, and by the end of the northern route Elliot reaches seven hearts of health, up from the starting five. Exact running totals vary depending on what you’ve picked up earlier, so use your heart count as the reliable progress check.
More questions⤵
Where do I go next after Little Hope?
North. Once the boulders are cleared, you pass through the northern woods into the Whiterea snowfield and push toward the northern tower, where the power of light is said to rest. That’s the same destination Kaifrid is heading for, so the tower is the through-line for everything that comes after this part.